How to Setup Lsyncd over SSH

What is lsyncd?
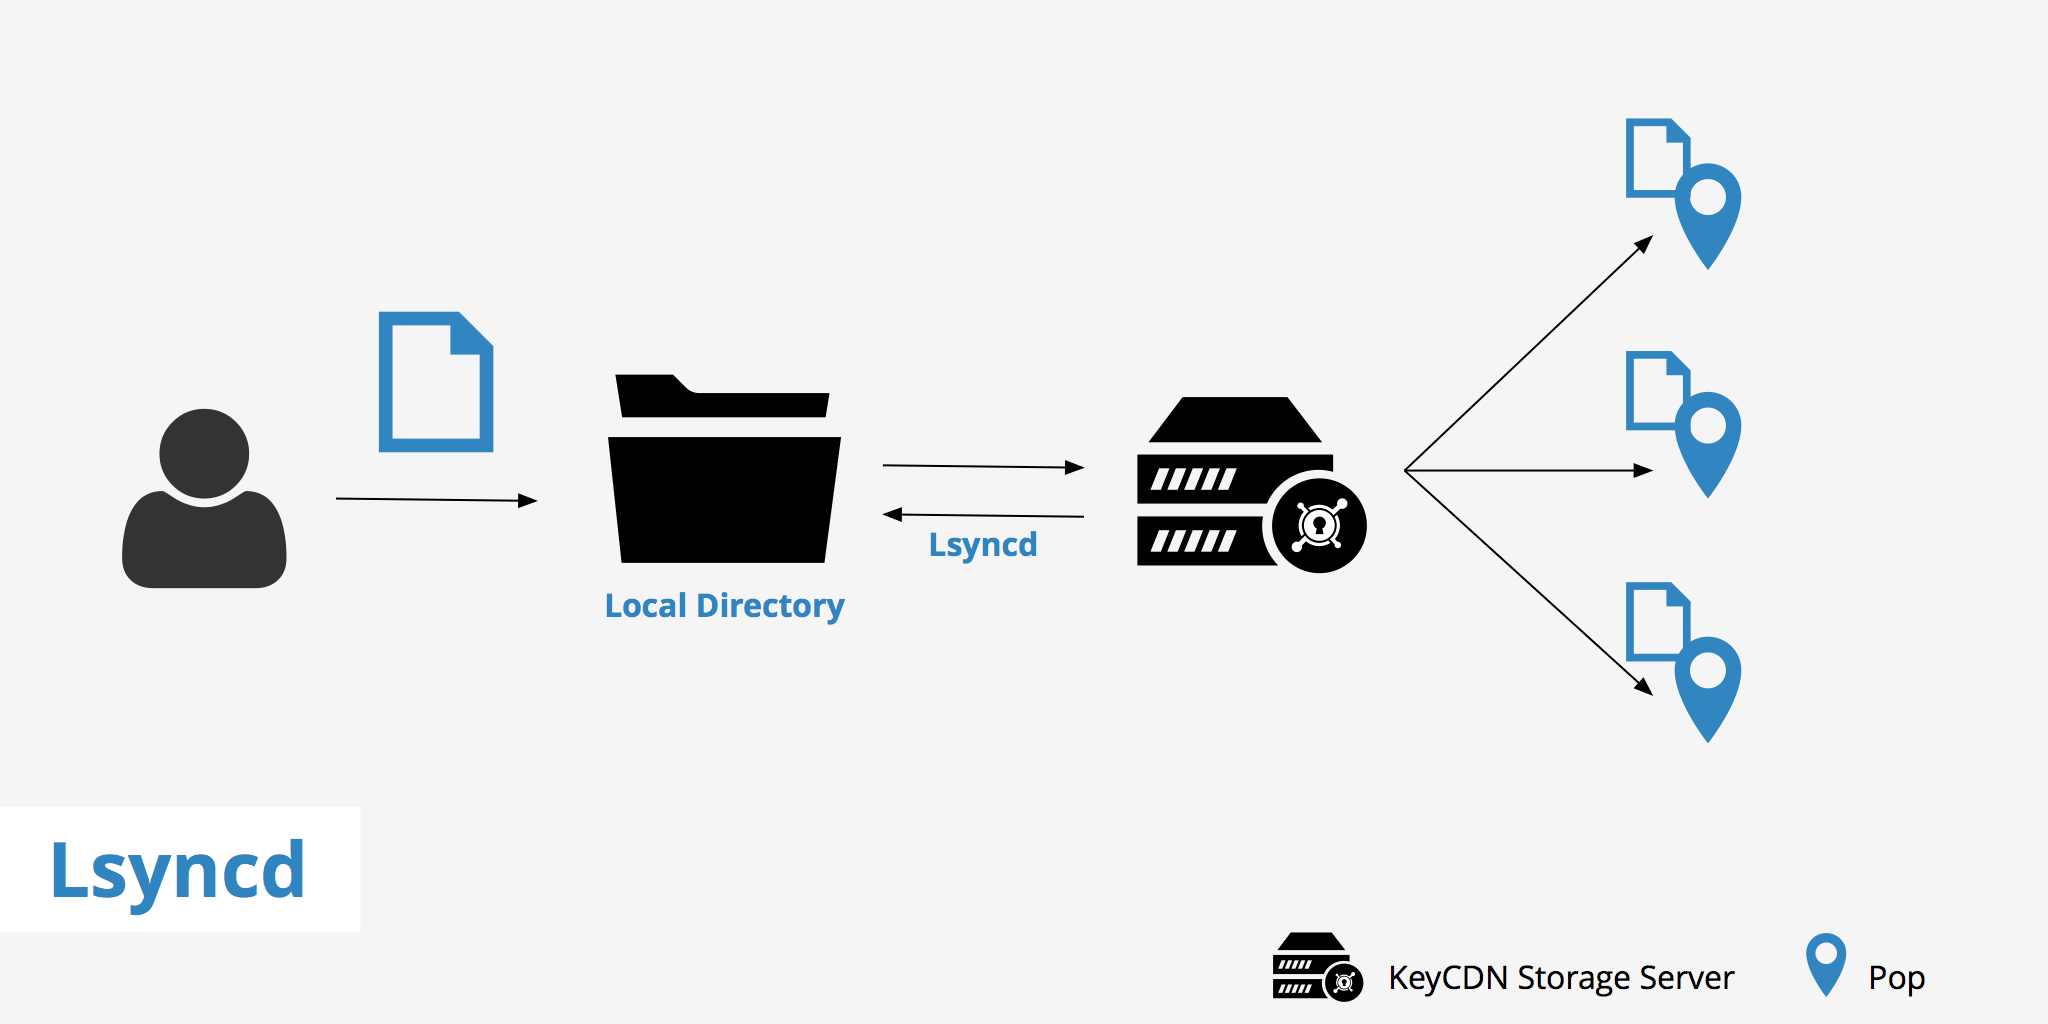
Lsyncd is a way to keep your local directory automatically synchronized with other machines. Files on the local machine are monitored for changes every few seconds and if any changes are noted, they then get replicated and synchronized to the remote server(s). This solution to synchronization is easy to install, lightweight, and does not constrain the local filesystem's performance.
By default, lsyncd uses rsync to replicate files from the local machine and will only transfer files that have changed. There are other solutions in the market that perform this task, however this is intended to be a cheap, convenient solution for automatically synchronizing data thus minimizing data loss and time spent replicating files from machine to machine.
The following 5 functions are offered:
- Checks what needs to be synced from your local machine to your remote server(s)
- Checks on vice-versa
- Syncs from your local to your remote
- Syncs vice-versa
- Can edit your "rsync includes" file
Using this synchronization method with a CDN can help decrease the amount of time required to upload files from one machine to another. If you are using a KeyCDN Push Zone for example, using this method allows you to continuously sync data from your local machine to our storage cloud without adding additional stress on the server. There are also other methods for uploading data to a Push Zone in case you are not required to automatically synchronize files but rather, would prefer uploading them manually via FTP(S) or rsync.
Installation
Installing Lsyncd on your server is a rather straightforward and easy process. Use the following commands for installing it on your Ubuntu or CentOS system.
Ubuntu
sudo apt-get update
sudo apt-get install lsyncd
CentOS
yum -y update
yum -y install lsyncd
Running these commands will install Lsyncd as well as include some examples within the following directory /usr/share/doc/lsyncd/examples. These examples can be used to help get a better idea of the configuration possibles when using this synchronization method.
Setting up lsyncd over SSH with KeyCDN
Before getting started, you must first ensure that you have uploaded your public SSH key to the KeyCDN dashboard and added your private key on your system using ssh-add /path/to/your/private.key. If you do not yet have an SSH key pair, see our article on How to: Create SSH Key.
Once you have properly set up your SSH keys you can begin configuring your environment. To do this you must create lsyncd.log and lsyncd-status.log files in these respective directories
/var/log/lsyncd/lsyncd.log
and
/var/log/lsyncd/lsyncd-status.log
Once this is complete, you can then begin to set up your configuration file. There is no default configuration file, however you can create one in your /etc/lsyncd/lsyncd.conf.lua directory on your local machine and add the following information.
settings {
    logfile = "/var/log/lsyncd/lsyncd.log",
    statusFile = "/var/log/lsyncd/lsyncd-status.log",
    statusInterval = 20
}

sync {
    default.rsync,
    source="full path to your directory",
    target="{username}@rsync.keycdn.com:{zone_name}/",
    rsync = {
        archive = false,
        acls = false,
        chmod = "D2755,F644",
        compress = true,
        links = false,
        owner = false,
        perms = false,
        verbose = true,
        rsh = "/usr/bin/ssh -p 22 -o StrictHostKeyChecking=no"
    }
}
Change the source to the path to the directory that contains the files you want to synchronize and the target to match your KeyCDN username and Zone name.
Once this is complete, you are finished with the setup process and can now begin synchronizing your files from your source directory to your KeyCDN Zone. This method helps both save time and improve the efficiency of uploading your data to a KeyCDN Push Zone.